A window air conditioner that hasn’t been washed in a year isn’t just noisier and weaker, it’s circulating dust, pollen, and sometimes mold spores through the same air you breathe. The good news is that washing one properly takes about an hour, needs no special skills, and mostly comes down to knowing which parts can touch water and which parts absolutely cannot.
This guide covers the full process of what’s actually safe to wash with water, the right cleaning solution for each part, a step-by-step walkthrough, and the mistakes that cause most of the damage people do to their own units.
What Washing a Window AC Actually Means
window AC has two zones, and treating them the same way is how most damage happens. The water-safe zone plastic front panel, air filter, evaporator coils and fins, condenser coils and fins, and drain pan can handle a spray or rinse, since the evaporator coil is already wet with condensation every time the unit runs anyway. The never-wet zone control panel, fan motor, compressor housing, and any exposed wiring or capacitors aren’t sealed against moisture the same way, and water reaching it can short a circuit instantly or corrode a contact that fails weeks later, creating a shock risk the next time it’s plugged in.
What You Need to Clean a Window Air Conditioner
| Category | Items |
| Tools | Screwdriver, vacuum with brush attachment, fin comb or thin dull knife, spray bottle, garden hose (optional, for outdoor rinsing) |
| Cleaning materials | Mild dish soap, white vinegar or 3% hydrogen peroxide, coil cleaner (optional but recommended) |
| Protection | Rubber gloves, safety glasses (aluminum fins have sharp edges) |
| Drying | Microfiber cloths, a towel or drop cloth to set wet parts on |
Safety Steps Before You Start
Unplug the unit from the wall, or switch off the breaker if it’s hardwired. Wait about 5 minutes before opening it. If you’re not comfortable handling electrical components, contact a professional Home Maintenance Expert to inspect the unit safely.
Work in a spot where wet parts can air-dry: a garage, patio, or the room floor on a towel all work.
Step-by-Step: How to Wash a Window Air Conditioner
Start with the parts that collect the most dust and grime, then work your way through the coils, fins, condenser, and drain pan. The key is knowing where water is safe, how much pressure to use, and when to let everything dry before putting the unit back together.
1. Remove the front panel
Most panels either snap off with firm, even pressure at the corners or are held by 2–3 screws. Check your manual if you’re not sure; forcing a clipped panel is the most common cause of cracked plastic. Set the panel aside; it can be washed with soapy water and a cloth or hosed down outside.
2. Take out and wash the filter
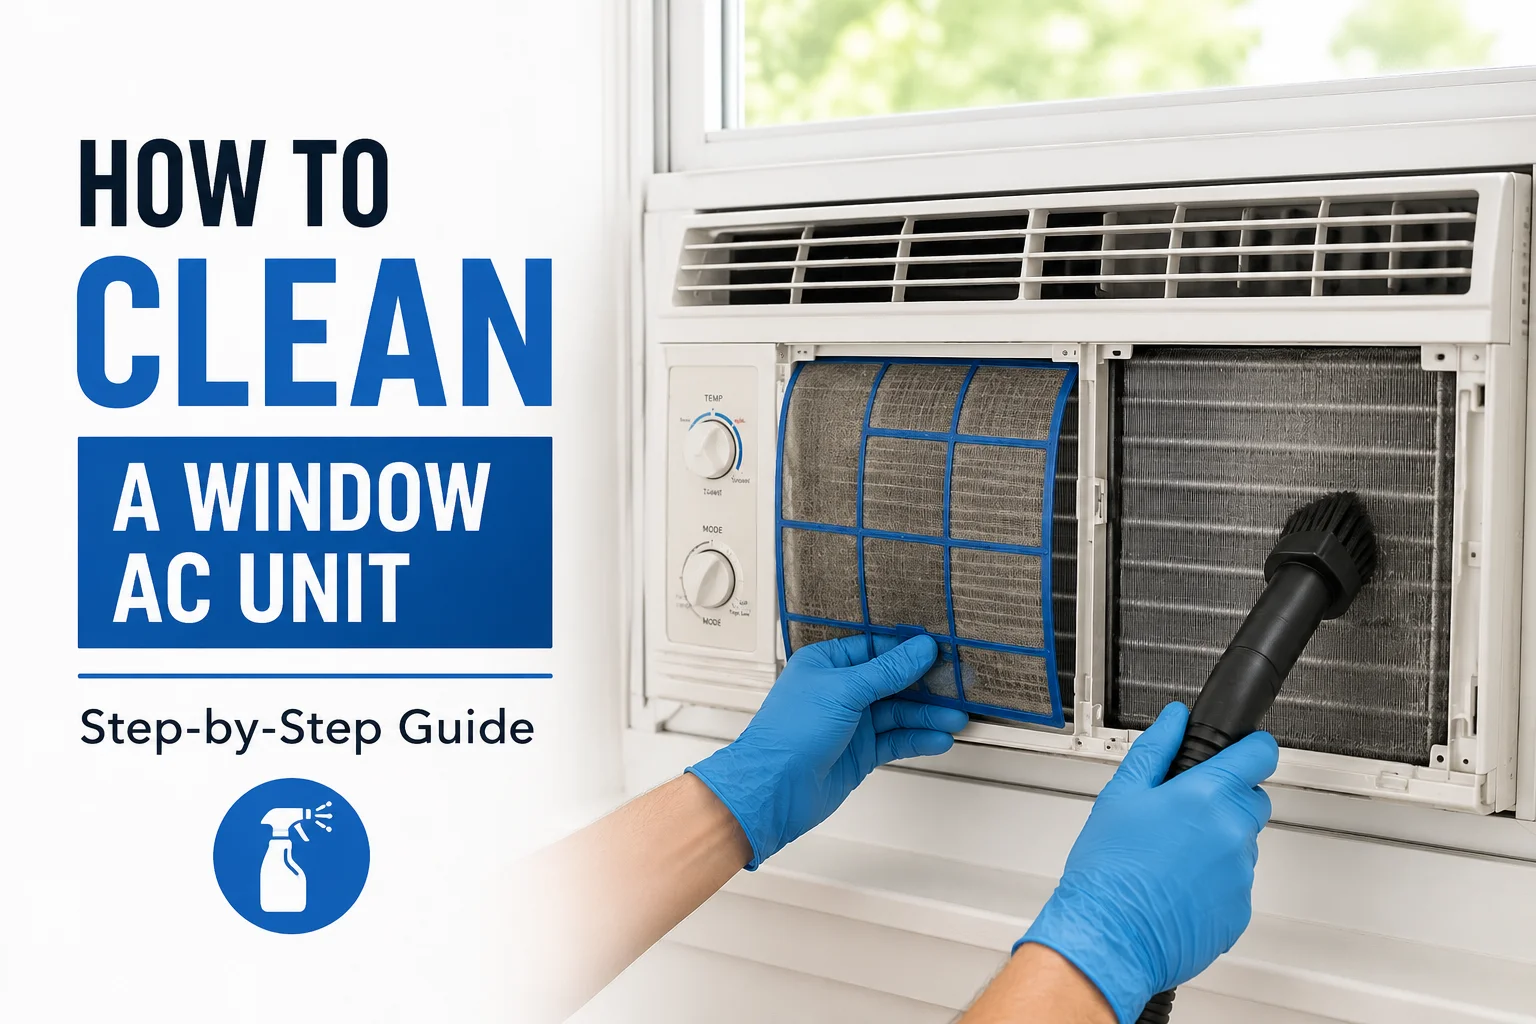
The filter sits directly behind the panel. Rinse it under a tap or hose with light pressure. High pressure can tear the mesh. For a visibly grimy filter, work a small amount of dish soap into it with your fingers or a soft brush, then rinse until the water runs clear. Lay it flat to air-dry completely; this typically takes a couple of hours. A damp filter reinstalled too early is one of the leading causes of mold growth inside the unit.
3. Vacuum the interior first before adding any liquid
With the filter out, use a vacuum with a brush attachment on the evaporator coils, the fan blades, and the drain pan. Move the brush in the same direction as the fins (vertically) rather than across them, since cross-brushing is what bends fins. Vacuuming first matters because it removes loose, dry debris that would otherwise turn into mud once you spray water or cleaner on it.
4. Wash the evaporator coils and fins
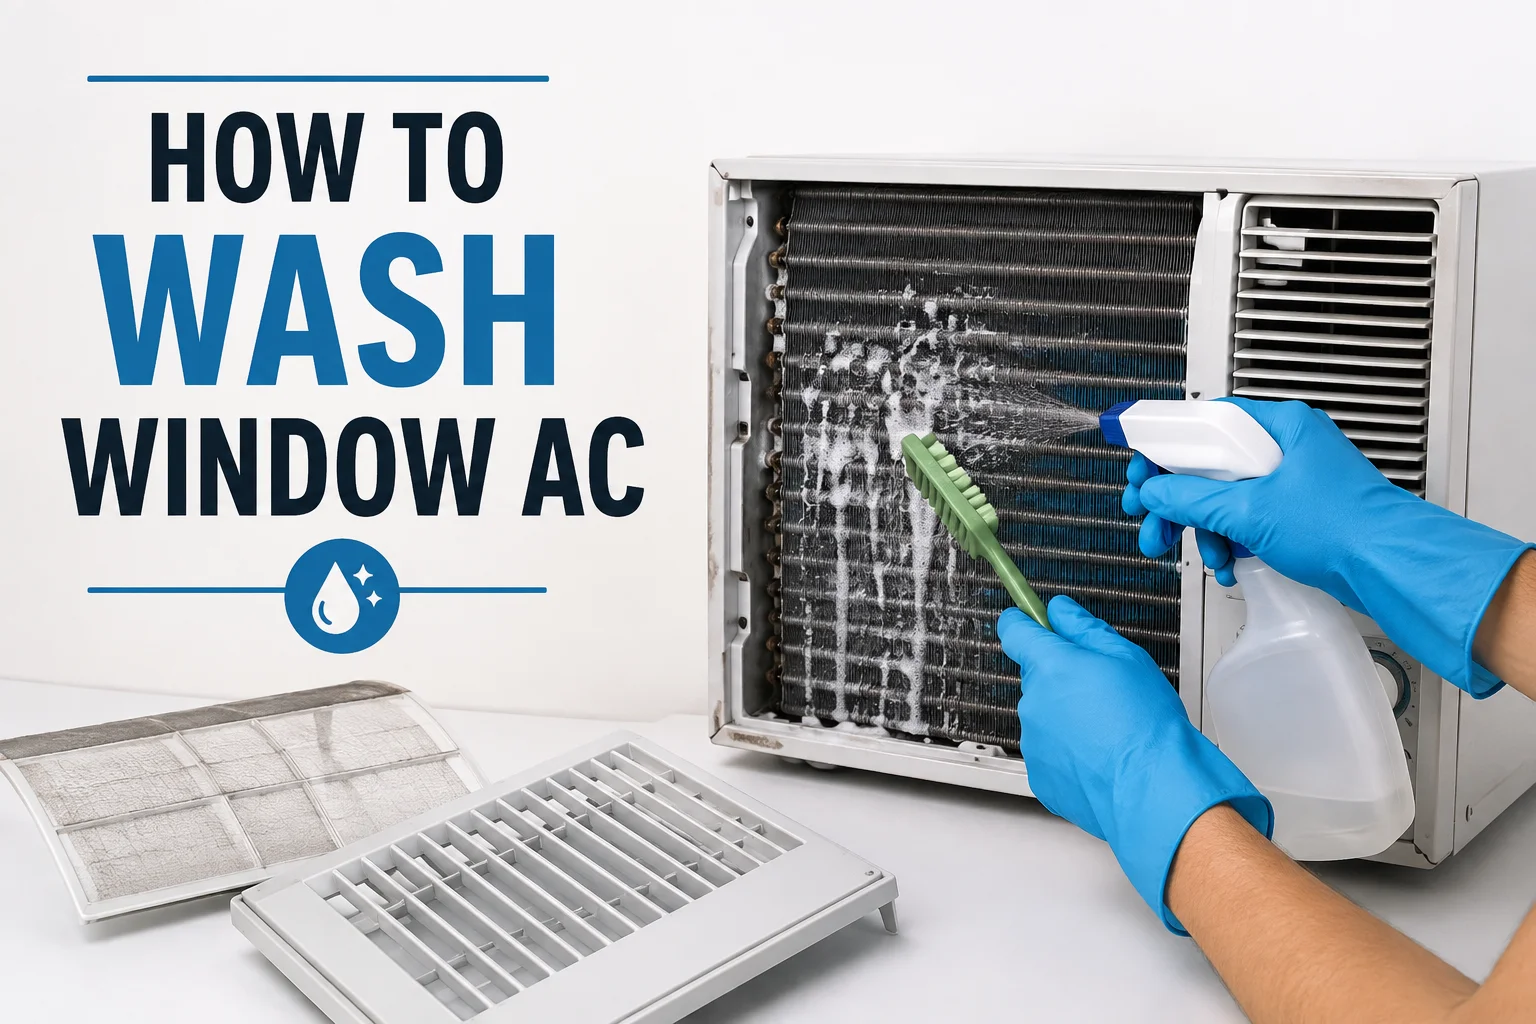
Spray the coils with your cleaning solution (see the comparison below), let it sit for 10–15 minutes to break down grime, then rinse with a light mist from a spray bottle not a direct hose stream. Spray from the inside of the unit outward so loosened dirt moves away from the components rather than deeper into them. Keep water well away from the fan motor and any wiring visible near the sides of the compartment.
5. Straighten bent fins
Bent aluminum fins block airflow even after everything else is clean. Wearing gloves, slide a fin comb or a thin, dull knife in a pinch between the bent fins and gently draw it through in the direction the fins should run. Go slowly; force applied unevenly just bends the next fin over.
6. Wash the condenser (back of the unit)
The condenser faces outdoors and collects leaves, pollen, and grass clippings. If you can access it from outside, hose it down with a garden hose on a gentle setting, holding the nozzle far enough away that you’re rinsing, not blasting. If your unit is mounted too high to reach from outside, it will need to come out of its window sleeve. This is a two-person job on most units, since they’re heavier than they look, and it’s the point at which many people decide it’s worth calling a professional instead.
7. Flush the drain pan and hose
The drain pan at the base collects condensation and is where mold and algae most often build up, producing the musty smell people associate with “dirty AC.” Wipe out standing water and debris, then flush the pan and any drain hose with warm water. Adding a capful of white vinegar to the flush helps break down mineral buildup and kill mold in the line.
8. Let everything dry completely
This is the step most guides skip, and it’s the one that prevents mold from coming right back. Give the filter, panel, and interior at least a few hours in open air, ideally with the unit standing so any residual water drains from the pan before you reassemble anything.
9. Reassemble and test
Slide the dry filter back into its tracks, snap or screw the panel back on, and plug the unit in. Run it for a few minutes and confirm it’s cooling normally, draining outside as expected, and not making any new noises.
Which Cleaning Solution Should You Use?
Not all cleaners are safe on aluminum fins and coated metal parts. Here’s how the common options compare:
| Solution | Best for | Notes |
| Mild dish soap + water | Filter, plastic panel | Gentle, widely available, no residue if rinsed fully |
| White vinegar (diluted) | Drain pan, mild mold/odor | Kills mold and mildew without corroding metal |
| 3% hydrogen peroxide | Coils and fins with visible mold | Effective antifungal, won’t damage aluminum the way bleach can |
| Commercial coil cleaner | Heavily soiled coils | Foams into tight spaces a brush can’t reach; follow the product’s dwell time |
| Bleach | Not recommended on the unit itself | Corrosive to aluminum fins and metal coil components over repeated use; reserve for pre-mixed products specifically rated for AC coils |
If you’re dealing with visible black mold rather than routine grime, hydrogen peroxide or vinegar are the safer choices; both handle mold effectively without the corrosion risk bleach carries on unprotected metal.
Common Mistakes That Damage Window AC Units
- Spraying water directly at the control panel or motor housing; even a light mist can reach wiring behind the plastic
- Using a garden hose at full pressure on the fins bends them instantly and undoes the airflow benefit of cleaning
- Reinstalling a damp filter the single most common cause of recurring mold and musty odor
- Cross-brushing instead of vertical strokes on the fins bends more fins than it cleans
- Using bleach directly on aluminum coils corrodes the metal over repeated cleanings, shortening the coil’s life
- Skipping the drain pan and hose: this is where most persistent odors actually originate, not the coils
How Often to Wash a Window AC
Frequency depends more on how hard the unit works than on a fixed calendar date:
| Usage level | Filter | Full wash (coils, panel, drain) |
| Light (occasional use, low dust/pollen area) | Every 4–6 weeks during use | Once a year, before the season starts |
| Moderate (daily summer use, average household) | Every 2–4 weeks during use | Twice a year spring startup and fall shutdown |
| Heavy (pets, allergies, dusty or humid climate, near-constant use) | Every 2 weeks | Every 3–4 months during active use |
Regardless of schedule, treat these as signs a wash is overdue: weaker airflow, a musty smell when it starts up, visible dust on the vents, higher-than-normal energy bills, or water leaking inside instead of draining outside.
Troubleshooting After Cleaning
Still smells musty after washing: The odor is usually coming from the drain pan or hose rather than the coils. Re-flush the drain line with a vinegar-water mix, and check that the pan is actually draining rather than holding standing water.
Unit is icing up: This typically means airflow is still restricted; either the filter wasn’t fully seated, or fins are still bent in a section you missed. Turn the unit off, let the ice melt fully, and recheck the fins.
Water leaking inside the room: The unit likely isn’t tilted correctly. Window units need a slight outward slope (toward the exterior) so condensation drains out rather than back into the room; worth checking with a level after reinstalling.
Reduced cooling despite a clean filter and coils: If cleaning didn’t restore performance, the issue may be low refrigerant or a failing compressor problems a wash won’t fix and that call for a technician.
Is you Ac still Not Coooling properly? Check out 10 Common Causes that may affect your AC cooling performance.
When you should hire an expert
Most window AC washing is safe to handle yourself, but a few situations go beyond routine cleaning:
- Extensive black mold covering large areas of the interior, since disturbing it without containment can release spores into the room.
- Access to the blower wheel or internal motor components, which requires partial disassembly beyond the filter, panel, and coil level.
- Electrical warning signs, such as sparking, a burning smell, or the unit tripping a breaker. These indicate a wiring issue rather than a cleaning problem and should be handled by a professional AC repair service.
- A unit mounted somewhere too high or awkward to safely remove and access the condenser from outside.
FAQ
Can you wash a window air conditioner without removing it from the window?
Yes, for the filter, panel, and evaporator coils, which are all accessible from inside the room. The condenser on the back is harder to wash thoroughly without either outdoor access or removing the unit from its sleeve.
Is it safe to spray a window AC with water?
Yes, for the coils, fins, filter, and panel, a light mist or gentle hose spray is fine. It’s not safe for the control panel, motor, or any exposed wiring, which should only be wiped with a barely damp cloth.
How do you clean a Midea window air conditioner?
Same core process as any window AC. Unplug your AC, remove it from the front panel, wash the filter, vacuum the coils, and clean the drain pan. Midea units mainly differ in how the panel releases; some use clips, some use screws, so check your model’s manual before forcing anything off.
Can you use a pressure washer on the coils?
No. Pressure washers generate far more force than the thin aluminum fins can handle and will bend them, restricting airflow rather than improving it. A garden hose on a gentle setting or a spray bottle is sufficient.
How do you clean an air conditioner without removing it?
Unplug it, take off the front panel, remove and wash the filter, and vacuum the visible coils and drain pan all without taking the unit out of the window. Full removal is only needed for a deep clean of the condenser at the back or the outer housing
Do you need to replace the filter or just wash it?
Most window AC filters are reusable and can be washed repeatedly, but they lose effectiveness over time as the mesh stretches or clogs. Replace a reusable filter every 3 months even with regular washing, and check your manual. Some lower-cost units use disposable filters that shouldn’t be washed at all.
Why does the unit smell musty again just weeks after washing?
This usually points to a drain pan that isn’t fully draining, letting condensation sit and regrow mold within days. Confirm the unit has the correct outward tilt and that the drain hose isn’t kinked or clogged.
Is it safe to wash a window AC unit?
Yes, as long as you stick to the water-safe parts: filter, panel, evaporator coils, condenser coils, and drain pan, and unplug the unit first. Avoid spraying the control panel, motor, or any exposed wiring, and use a light mist or gentle rinse rather than high pressure, since that’s what actually causes damage.